Making A Mod
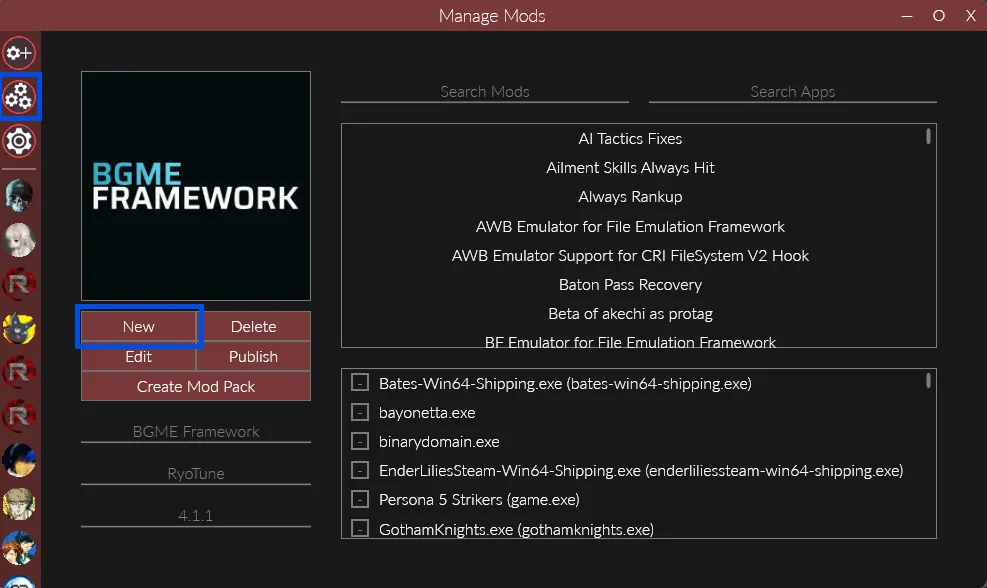
When making a mod the first thing you need to do make it in Reloaded. All of your edited files will go in this, and it is what you’ll release for others to use. To do so open up Reloaded, go to the Manage Mods tab, and click New.
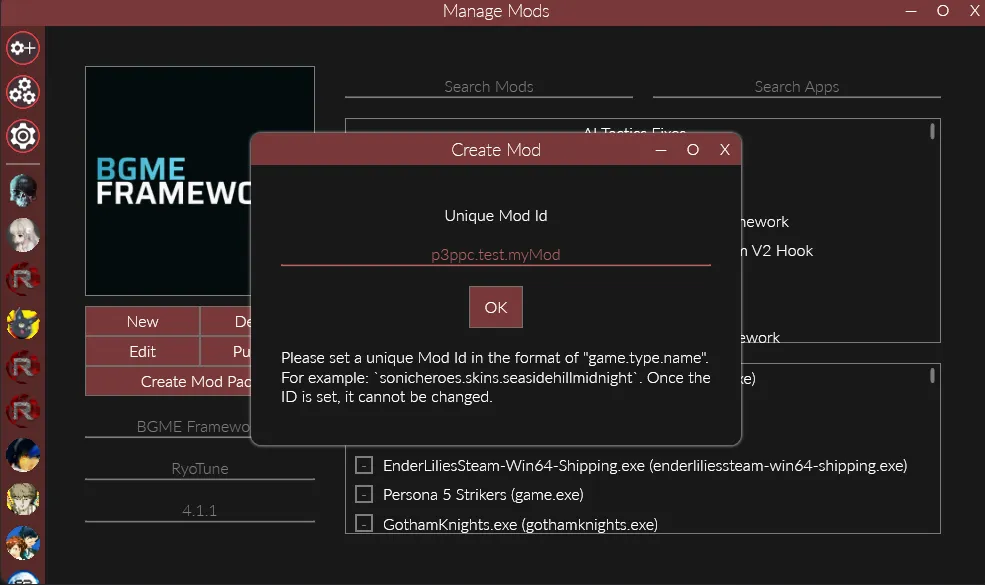
From there you’ll need to enter your mod’s id. This is a unique name that Reloaded will use to identify your mod. The recommended format is game.type.name although you don’t need to strictly follow it, just make sure it’s unique.
For example, I’ve named my mod p3ppc.test.myMod
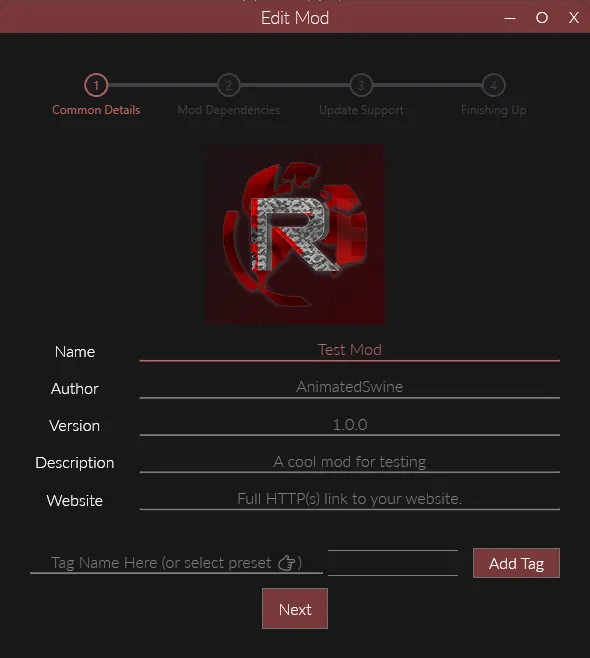
Next you’ll enter some basic details about your mod. Unlike the id, these can be changed later, so don’t worry too much about them. In particular you’ll probably leave the website blank until you’re ready to publish the mod.
Now we have to set dependencies for our mod. Generally you should always set a dependency on Persona Essentials, however sometimes you will need dependencies on additional mods. For now, just search for Persona Essentials and enable it so there’s a coloured cross next to the name.

After that you can skip over the Update Support section without changing anything, we’ll do that once the mod’s ready for publishing.
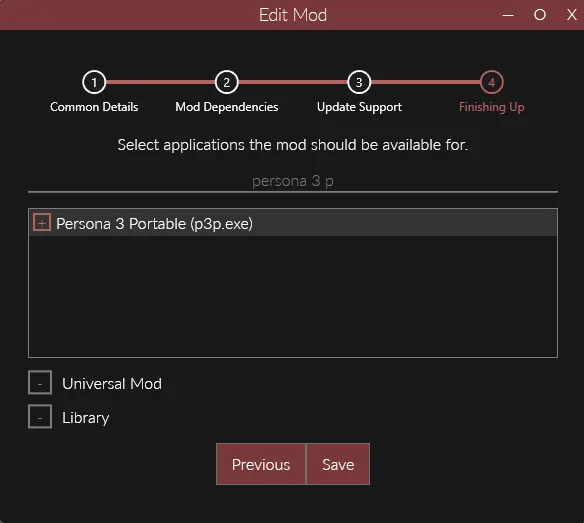
Finally you need to set the game your mod is for. Usually this will only be one game, but if you want you can make a mod that supports multiple, or even all games. For now, just enable Persona 3 Portable and click save.
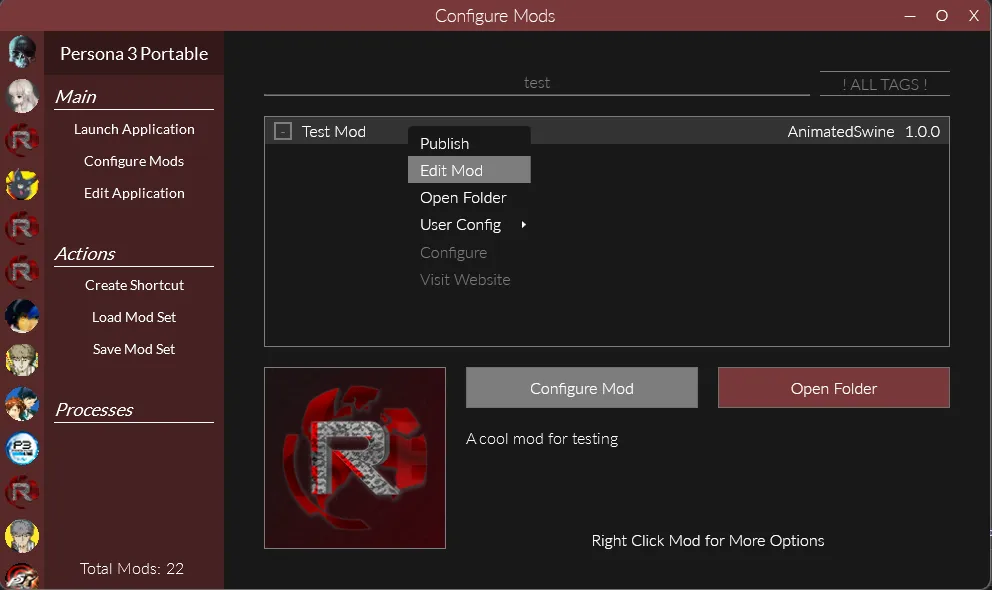
Now you should see your new (currently empty) mod in your list of P3P mods.
If you want to edit any of the details for your mod you can right click it and press Edit Mod. This will bring up the same dialog that you used when initially making the mod.