Adding Mod Files
Now that you have made a mod you can start replacing the game’s files. There are two broad types of files which you will replace in different ways: loose files and packed files.
Replacing Loose Files
Section titled “Replacing Loose Files”Loose files are the simplest, they are loose in some folder in the game’s files.
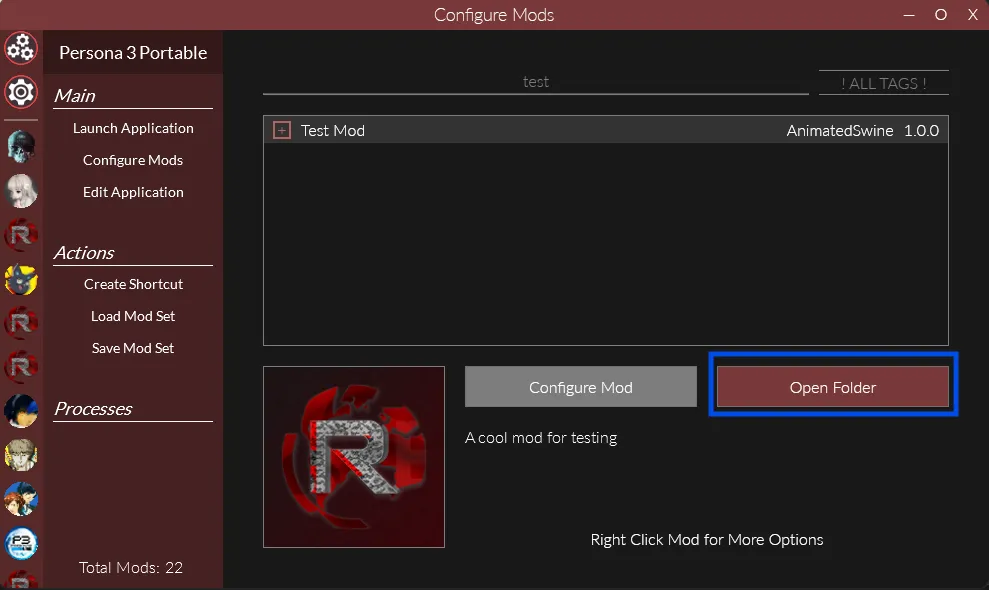
To replace these, first select your mod in Reloaded and click Open Folder.
This will take you to the root folder for your mod. In here make folders in the structure P5REssentials\CPK\umd0.cpk
Now, take a look at the file path of the original file in your dump of the game’s files. You will need to recreate this path underneath the P5REssentials\CPK\umd0.cpk folder.
For example, P3P has bustups for each character under the camp\bustup folder of the main umd0.cpk file.
To replace Junpei’s bustup, which uses the file c_cha05a.tmx you would put a modified file with the same name at P5REssentials\CPK\umd0.cpk\camp\bustup\c_cha05a.tmx.
Your mod would end up looking like:
Directoryp3ppc.test.myMod
DirectoryModConfig.json Automatically managed by Reloaded
DirectoryP5REssentials
DirectoryCPK
Directoryumd0.cpk
Directorycamp
Directorybustup
- c_cha05a.tmx
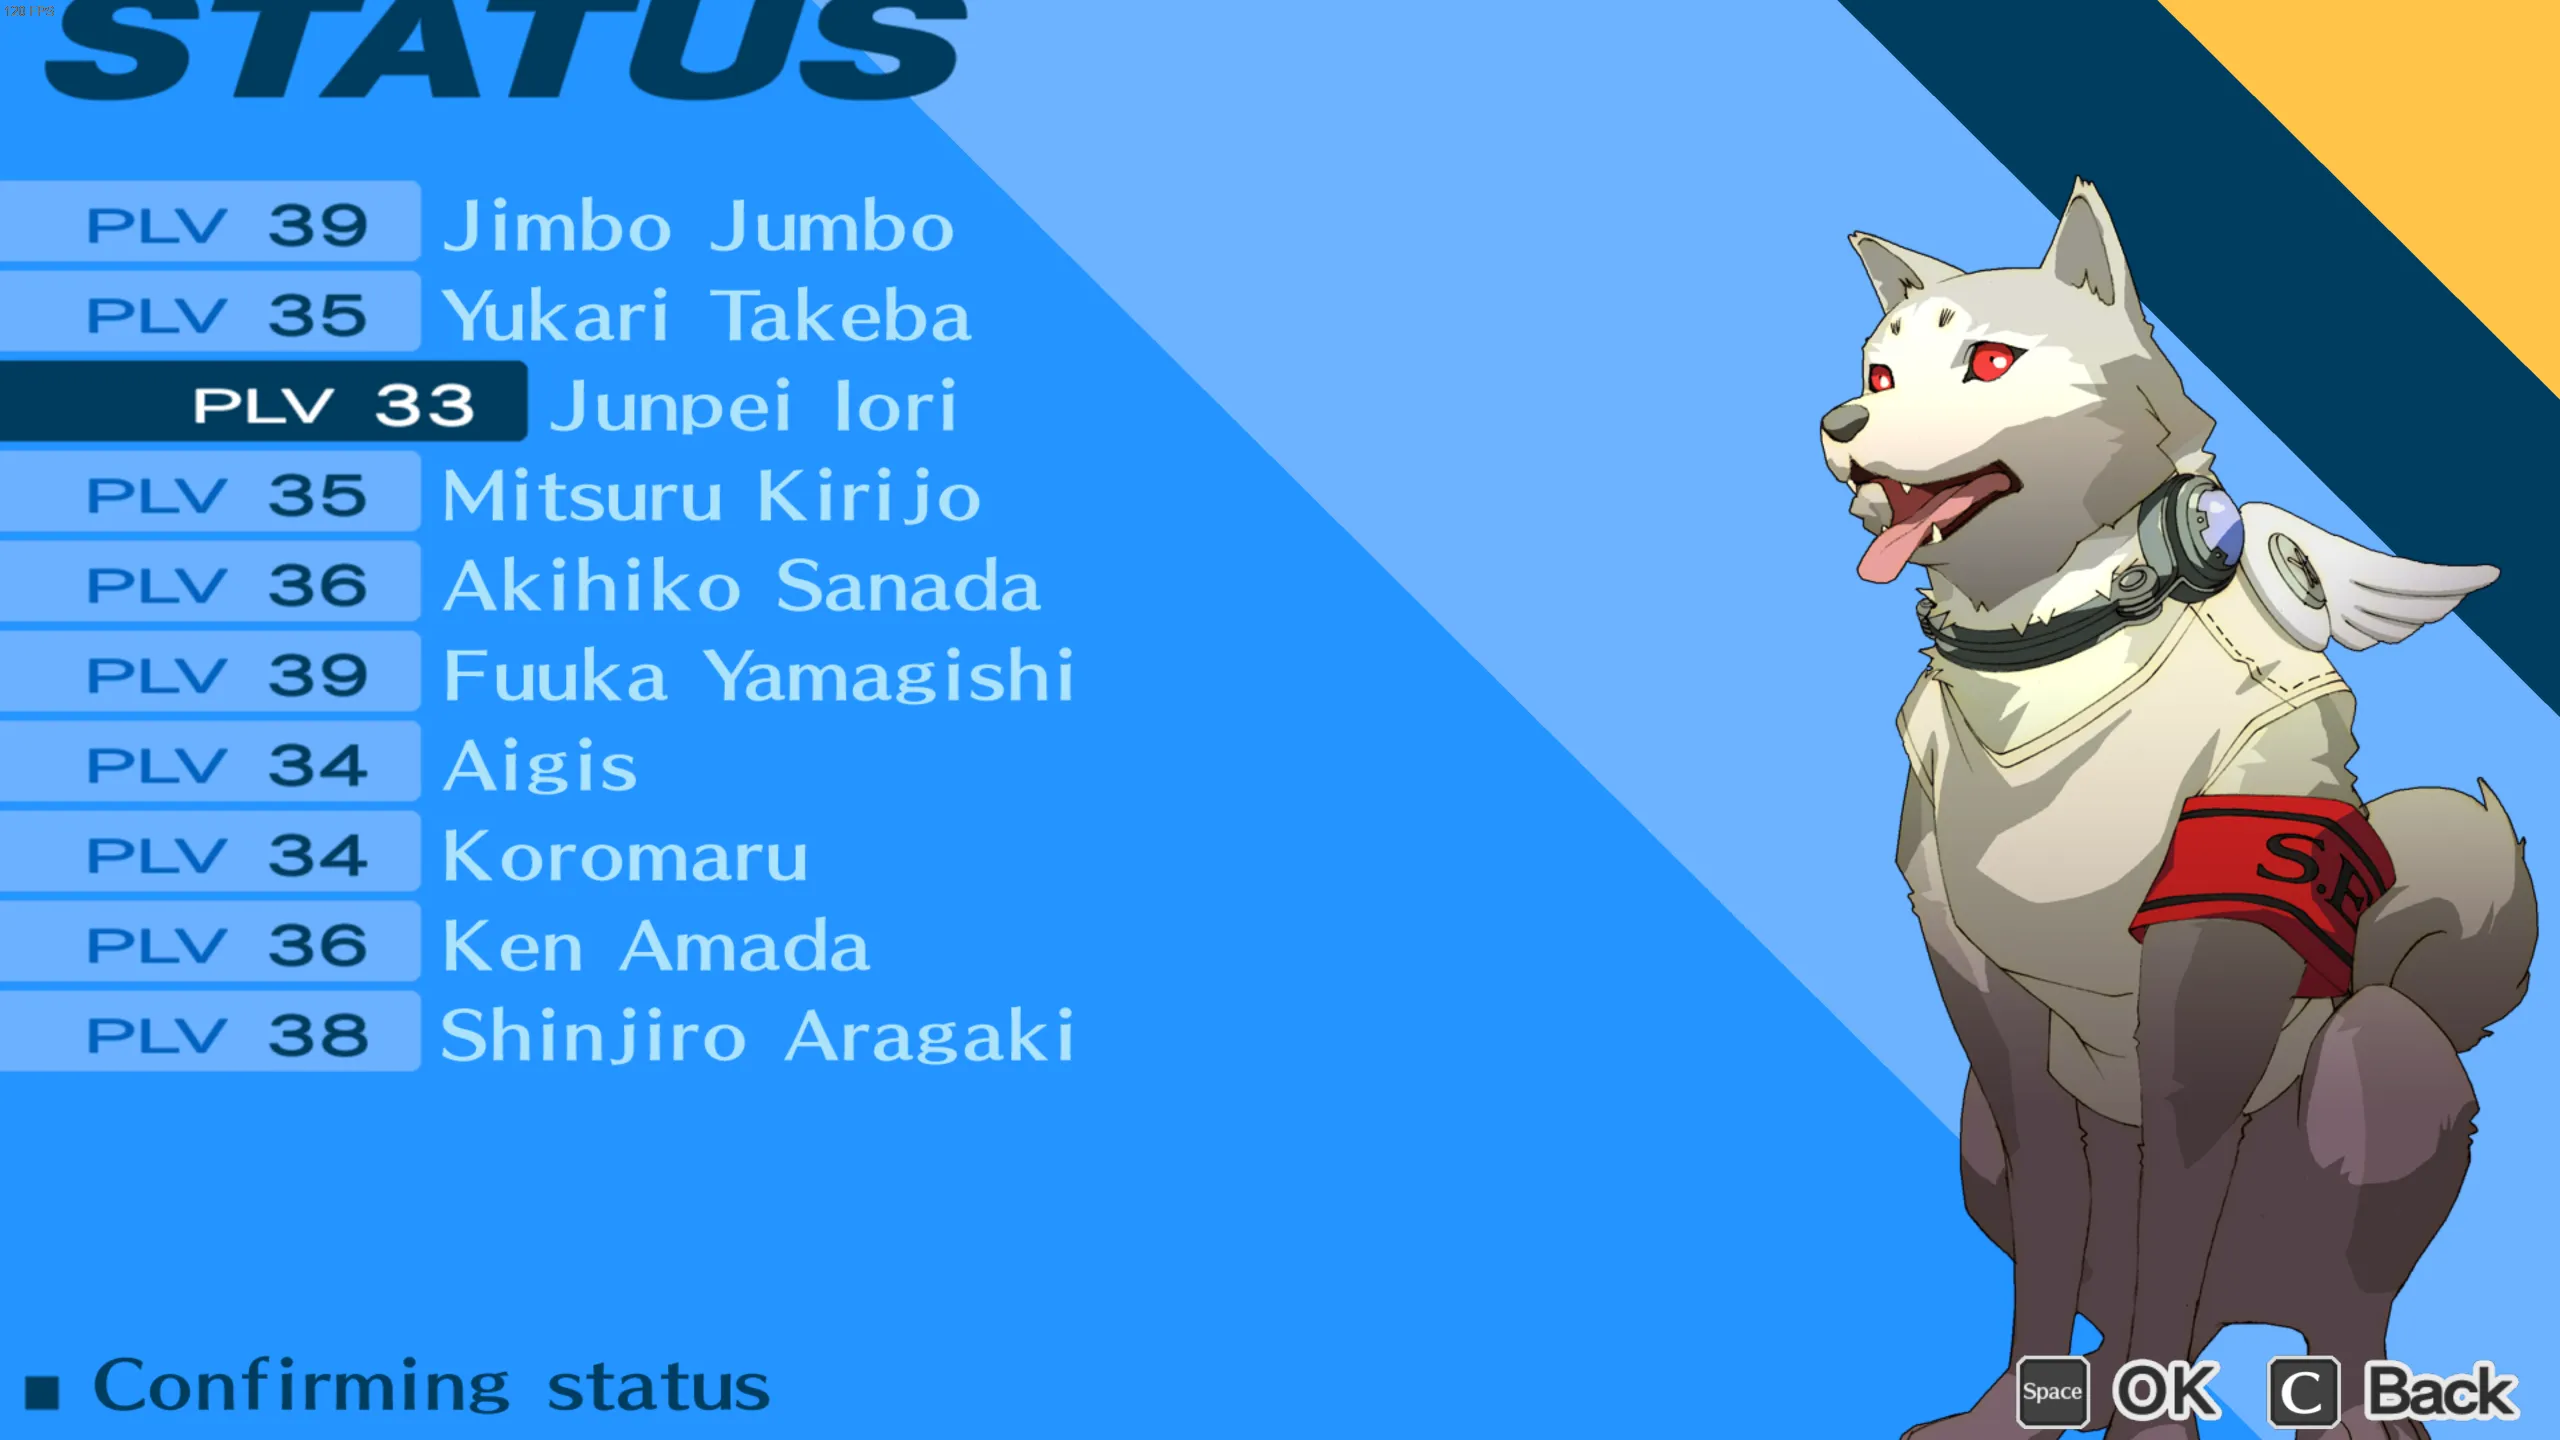
Loading up the game you should then see that Junpei’s bustup is replaced with your new one. In my case, I just copied Koromaru’s bustup (c_cha10a.tmx) and renamed it.
Replacing Packed Files
Section titled “Replacing Packed Files”Packed files are a bit more complicated, they are inside of an archive file (think like a zip) which we call a PAK.
To replace these, open your mod folder as before and create folders in the structure FEmulator\PAK.
Similarly to loose files, you need to recreate the path to the PAK file under this FEmulator\PAK folder.
For example, the male protagonist’s bustup in the command menu is found in init_2.bin in the root of the language specific umd0.cpk.
Open this file up in Amicitia and you’ll see that it is under camp/bustup/c_cha01a.tmx in this file.
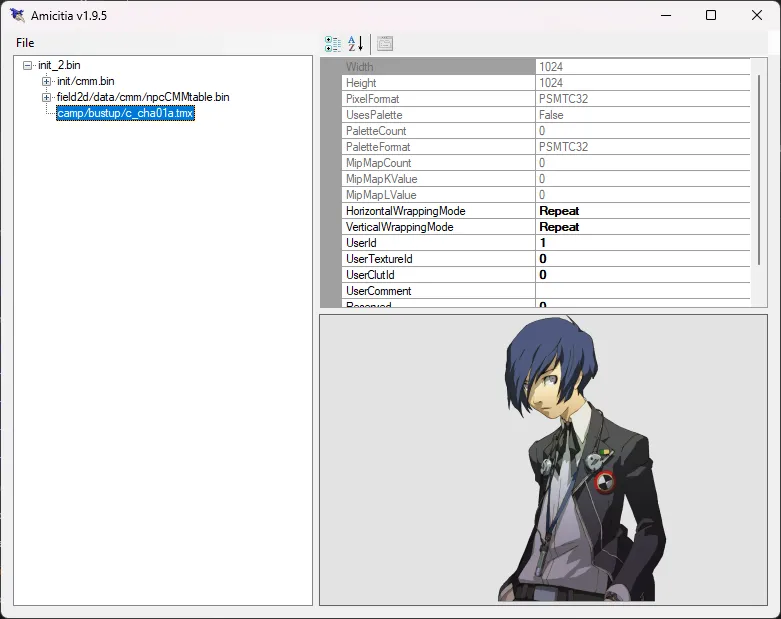
To replace this file, you would then need to put a modified tmx with the same name at FEmulator\PAK\init_2.bin\camp\bustup\c_cha01a.tmx.
Your mod would then look like
Directoryp3ppc.test.myMod
- ModConfig.json Automatically managed by Reloaded
DirectoryFEmulator
DirectoryPAK
Directoryinit_2.bin
Directorycamp
Directorybustup
- c_cha01a.tmx
There are two things to note here:
Firstly, init_2.bin is the path to the PAK file. In this case it is at the root of the game’s files so it is directly under FEmulator\PAK, however, if it was not at the root you would need to replicate the folders leading up to it.
Secondly, camp/bustup/c_cha01a.tmx is the path inside of the init_2.bin PAK file. This is copied from what is shown in Amicitia. In some cases, this path can even include PAKs in PAKs. Just follow what Amicitia shows and you should be fine.
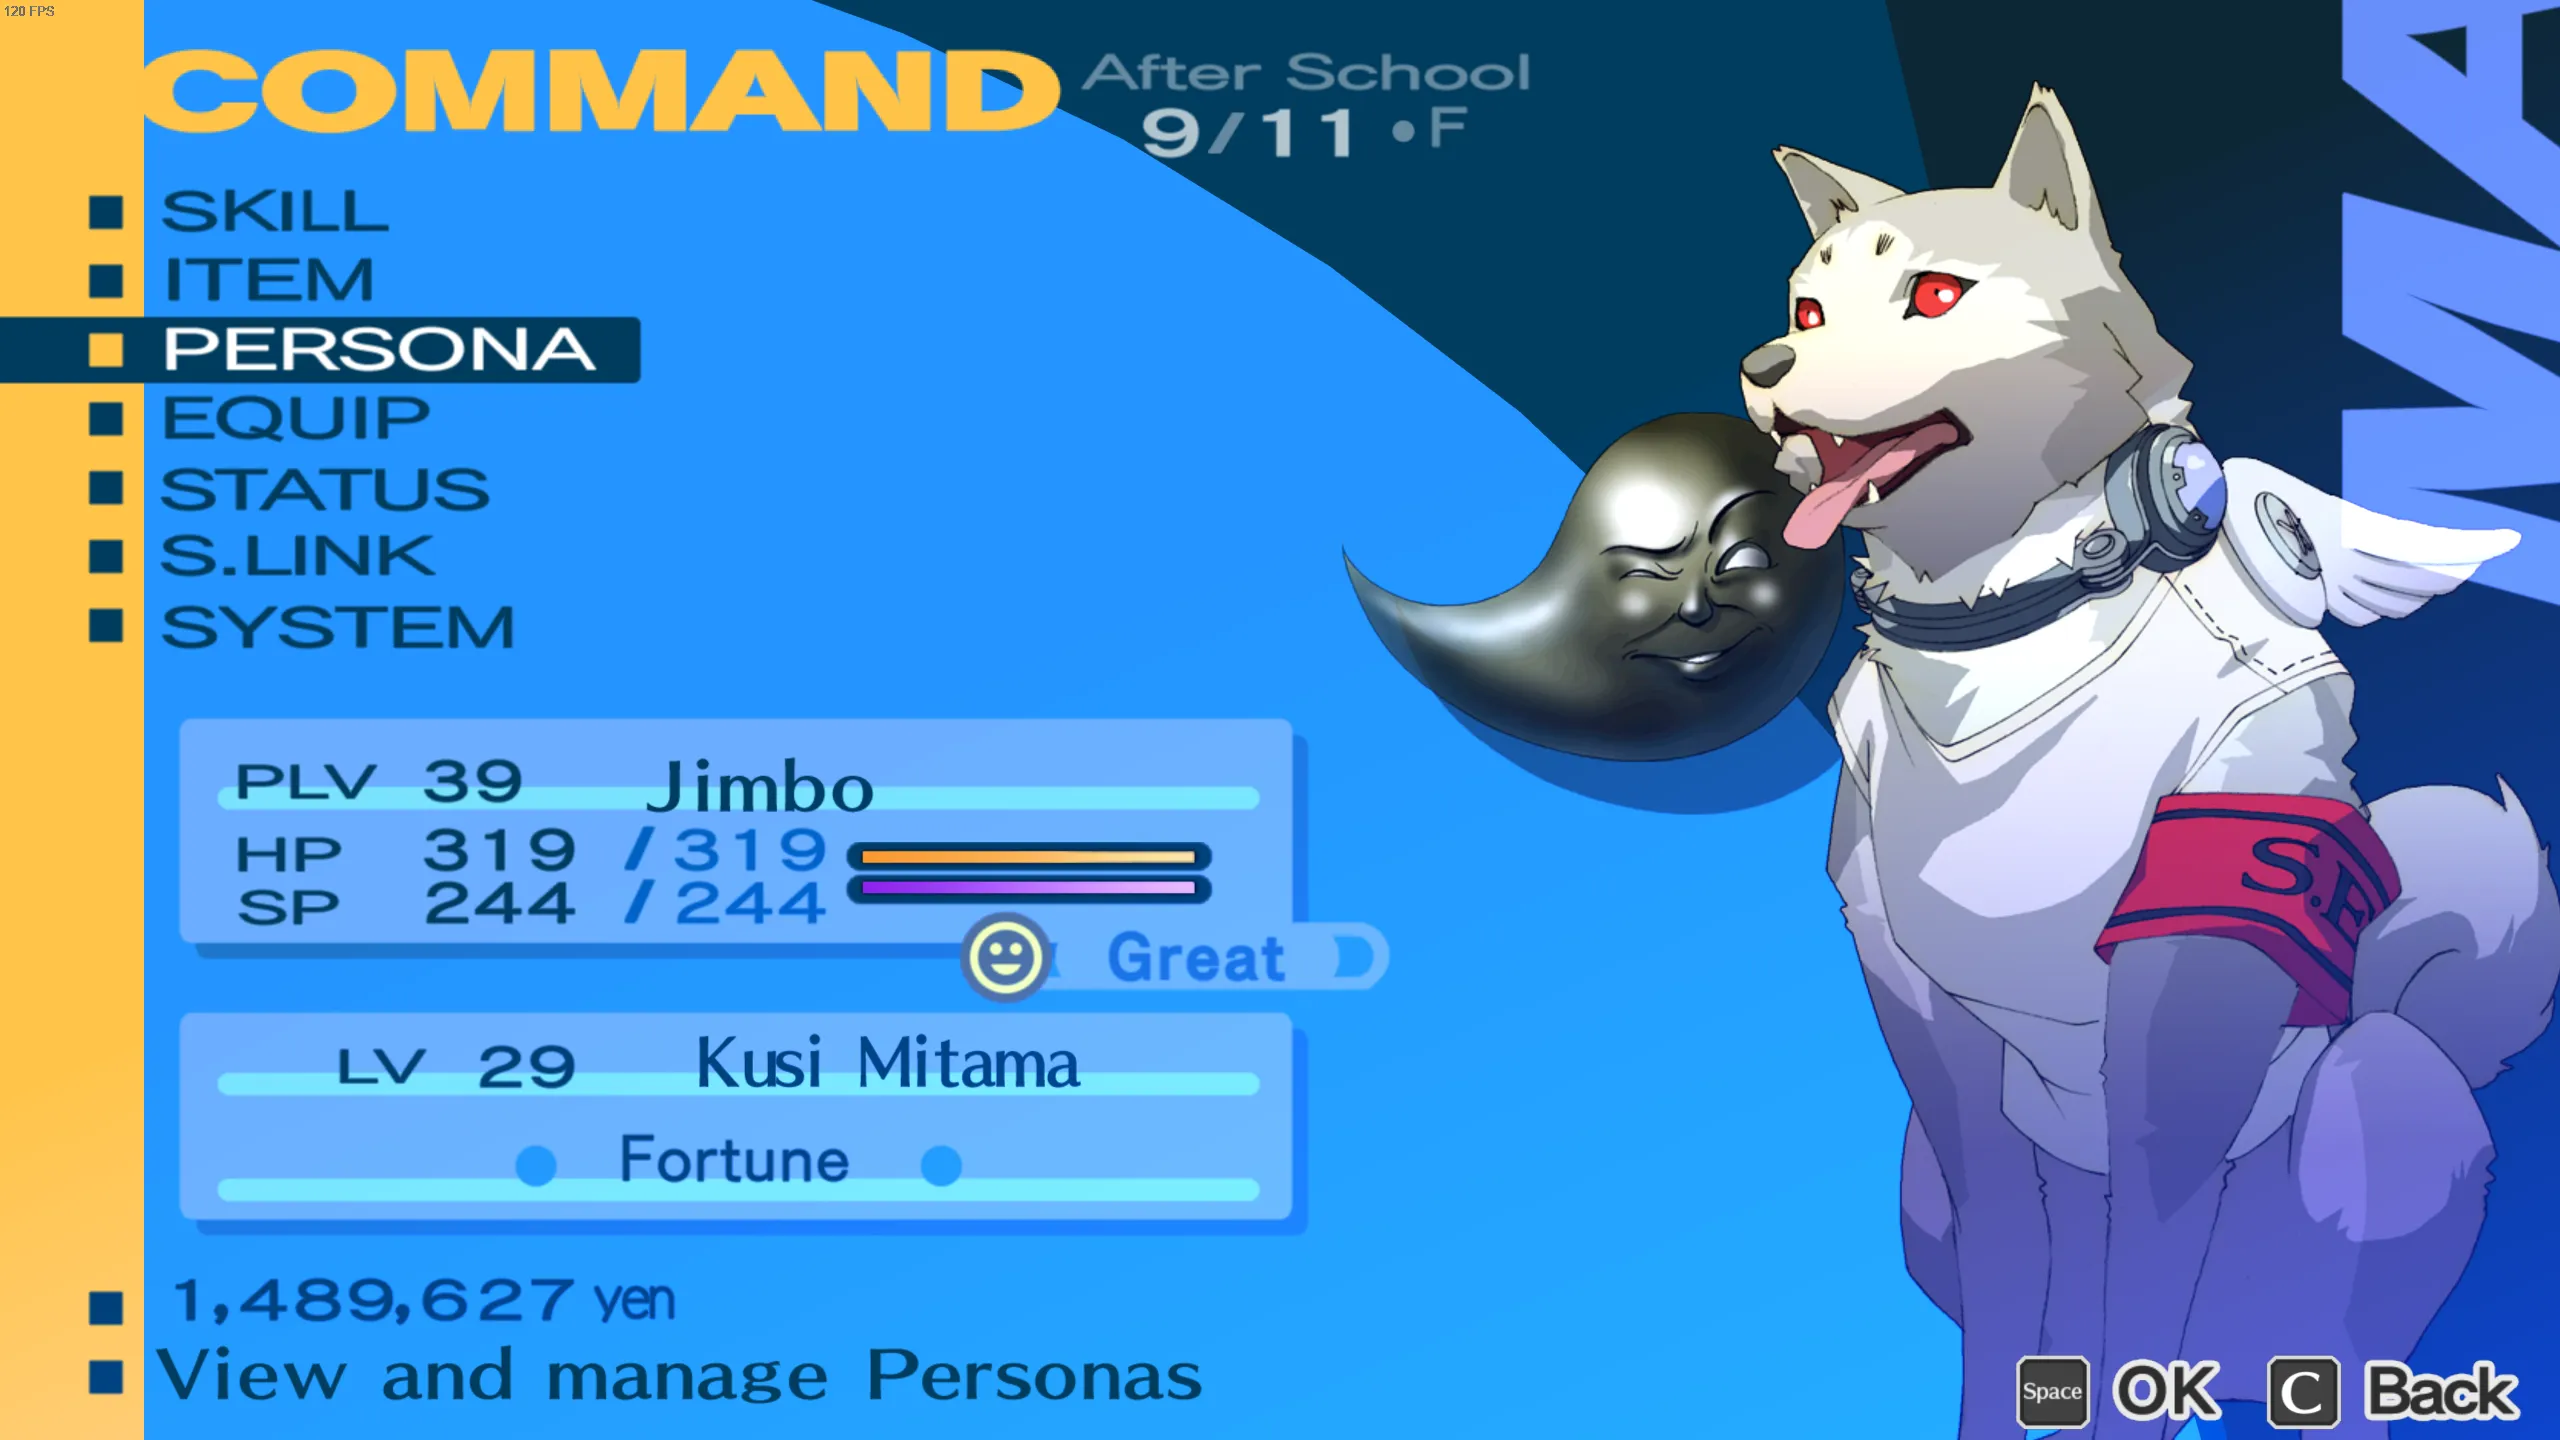
Now if you open up the game you should see that the protagonist’s bustup in the command menu is replaced with your edited one. In my case, I’ve again just replaced it with Koromaru :)
Other Files
Section titled “Other Files”The above will allow you to replace most of the games files, however, for some types the process is a bit different or there are additional steps. See the following pages for more details on certain file types:
- BF Files
- BMD Files
- SPR Files
- Music Files